
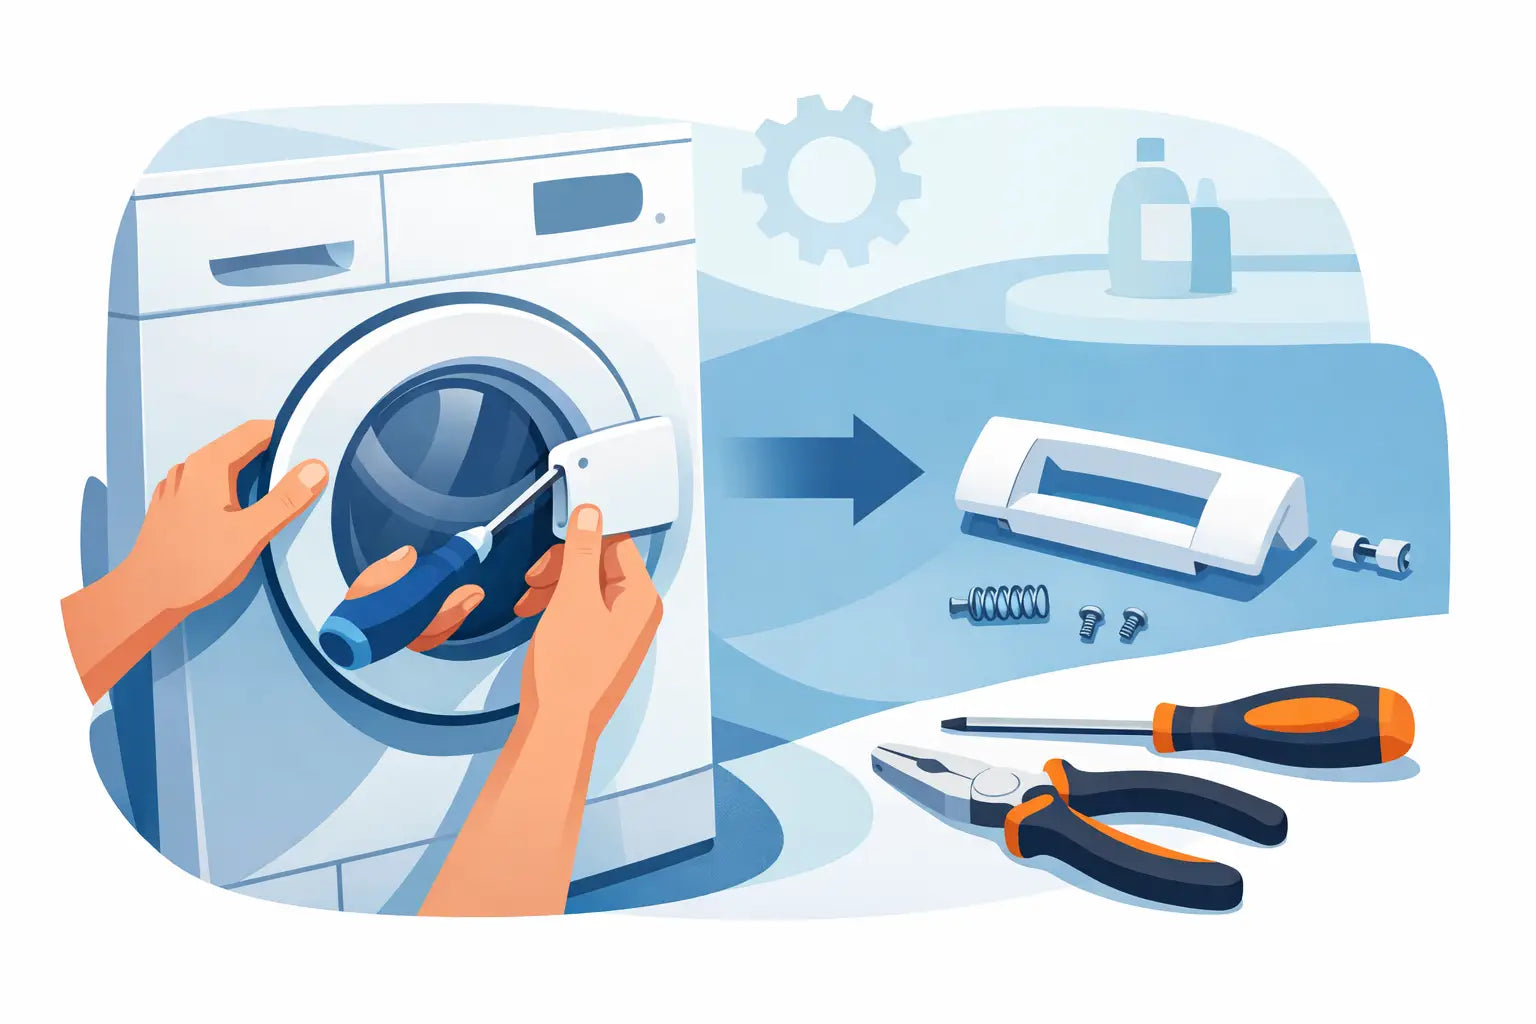
A snapped door handle usually happens at the worst possible moment - right when the wash is finished and you need the door open. The good news is that if you're wondering how to replace washing machine handle parts, this is often a straightforward repair that can save you the cost of replacing the whole door or calling out an engineer.
In many cases, the handle itself is the only failed part. The latch, spring and door frame may still be perfectly usable, which makes a handle replacement one of the more practical washing machine repairs for most households. The key is getting the correct part for your exact model and taking your time with the door assembly.
Before you replace a washing machine handle
Start by unplugging the washing machine from the mains. You won't be working on the electrical system, but it's still the safest approach whenever you're repairing an appliance. If the machine has only just run, give the door area a minute to cool and make sure the drum is empty.
Next, check what has actually failed. Sometimes the plastic handle cracks or comes away completely. In other cases, the handle feels loose but the real issue is a broken spring or latch pin inside the door assembly. If the outer handle is damaged, replacing the full handle kit is usually the simplest option because it often includes the small internal parts that wear at the same time.
You should also locate the model number before ordering anything. On washing machines, this is commonly found just inside the door opening, on the rim of the cabinet, or on a rating plate at the back. This matters because handles can look almost identical while using different fixing points, pins or latch shapes. A model-matched part saves time and avoids the frustration of dismantling the door twice.
Tools you'll usually need
For most machines, the job only needs a few basic tools: a cross-head screwdriver, a small flat-head screwdriver, and a clean surface to rest the door on. A small container for screws helps as well, especially if you're doing the repair on a kitchen floor where parts can roll away easily.
If your replacement arrives as a complete kit, keep all the pieces laid out in the order they will fit. That makes reassembly much easier once the door halves are apart.
How to replace washing machine handle step by step
The exact layout varies by brand, but the general process is similar across many Beko, Bosch, Hotpoint, Indesit, Samsung and other mainstream machines.
1. Remove the washing machine door
Open the door fully and support its weight with one hand. Unscrew the hinge screws that attach the door to the front of the machine. On some models, you may only need to remove the screws holding the hinge to the cabinet rather than dismantling the hinge itself.
Lift the door away carefully and place it on a flat surface with the outer side facing down. A towel underneath helps prevent scratches.
2. Separate the two halves of the door frame
Most washing machine doors are made from two plastic frame sections held together with several screws. Remove all visible screws around the inner frame. Keep them together, as lengths can vary slightly between positions on some models.
Once the screws are out, gently ease the two halves apart. If the frame feels stuck, use a small flat-head screwdriver very carefully at the clips or seam, but don't force it. Too much pressure can crack the plastic, especially on older doors that have become brittle with age.
When the frame comes apart, lift the inner section away slowly. The glass and latch components may loosen as the assembly opens, so keep a hand over the centre to stop parts shifting unexpectedly.
3. Note how the old handle is fitted
Before pulling anything out, take a clear photo on your mobile phone. This is one of the simplest ways to avoid confusion later. The handle assembly usually includes the handle itself, a spring, and a pin that holds the parts in place through the door frame.
Pay attention to the spring position. This is the part most people struggle with during reassembly. If the spring goes back in the wrong orientation, the handle may not return properly or may fail to latch the door.
4. Remove the broken handle assembly
Slide or push out the retaining pin. On some machines this comes out easily by hand, while on others you may need to nudge it with a small screwdriver. Once the pin is removed, the handle, spring and latch pieces can be lifted out.
Check the surrounding plastic housing for wear or cracks. If the door frame itself is damaged, fitting a new handle alone may not solve the problem. In that situation, replacing the full door frame section is the better long-term fix.
5. Fit the new handle
Position the new handle and latch pieces in the same arrangement as the original. Refit the spring exactly as it sat before, then slide the retaining pin back through the assembly and frame holes until it sits securely in place.
This part can take a little patience. If the spring keeps moving out of place, hold the handle under light tension while guiding the pin through. Don't force the pin, as that can damage the new handle or misalign the internal parts.
Before rebuilding the door, test the handle movement by hand. It should pull smoothly and spring back into position. If it feels floppy or sticks, stop and check the spring and latch alignment again.
Reassembling the door properly
Once the new handle is working correctly, reposition any glass or internal trim exactly as it was. Bring the two door frame halves back together and press them into place evenly. Refit all screws without over-tightening them. Plastic threads can strip if you use too much force, which leaves the door loose even with a new handle fitted.
After that, reattach the door to the washing machine using the hinge screws. Open and close it gently a few times. The latch should line up cleanly with the lock on the cabinet, and the handle should feel firm rather than stiff.
If the door doesn't shut properly, the issue may not be the handle at all. A worn door catch, hinge problem or misaligned frame can produce similar symptoms. That's why a quick manual test before full reassembly is worth doing.
Common problems when replacing a washing machine handle
The most common issue is fitting the wrong part. Even within the same brand, door handles can differ across production runs. Matching by model number rather than appearance is always the safer choice.
Another common problem is losing the spring position during dismantling. If the handle doesn't return after installation, the spring is usually the first thing to revisit. A bent retaining pin or cracked mounting point can also stop the handle from operating correctly.
Older machines can be slightly more awkward because the plastic frame may have hardened with age. If clips feel fragile, work slowly and avoid prising at one point for too long. Gentle, even pressure is better than trying to force a stubborn section open.
Is it worth repairing the handle yourself?
In most cases, yes. If the machine is washing properly and the only fault is a broken door handle, replacing that single part is usually the most cost-effective option. It's a practical repair for anyone comfortable using a screwdriver and following the layout of the original assembly.
Where it becomes less worthwhile is when the door frame is cracked, the hinge is distorted, or the interlock system has also failed. Then the repair can turn into multiple parts rather than one simple swap. Even so, replacing a few door components is still often cheaper than replacing the appliance.
For households trying to keep a reliable washing machine going for a few more years, a handle repair makes good sense. It's a small part, but it's one you use every day, so choosing a durable, model-compatible replacement matters.
Choosing the right replacement part
If you want the repair to go smoothly, spend the extra minute checking the appliance details before ordering. Brand, full model number and, where available, serial or production code can all help confirm compatibility. That is especially useful if your machine has had design updates or multiple door versions under a similar model name.
A proper fit means less hassle, a cleaner repair and a better chance that the door will open and close as it should from the first try. At Spares Direct Oldham, the focus is on helping customers find practical replacements quickly, without the guesswork that often comes with appliance spares.
A broken handle can make the whole machine feel unusable, but it is often one of the simpler fixes in the home. Take your time, match the part correctly, and you'll usually have the door working again far sooner than you expected.