
A cracked freezer drawer front or a drawer that will no longer stay on its runners can make a perfectly good appliance frustrating to use. In most cases, freezer drawer installation is a straightforward home repair, provided you have ordered the correct part for your appliance model and take a moment to check how the original drawer is fitted.
The main point is simple: freezer drawers are not all interchangeable. A drawer can look almost identical in a photograph but have different rail positions, fixing tabs, widths or front-panel clips. Checking the full model number before ordering saves time, avoids a poor fit and gets the freezer back to normal sooner.
First, identify which freezer drawer part has failed
“Freezer drawer” can describe several different parts. You may need a complete clear plastic drawer or basket, a replacement drawer front panel, a flap, a handle, or a runner and rail component. The repair method depends on which one you have.
A complete drawer normally slides directly out from the freezer compartment and back on to its support rails. A drawer front is different. It is often clipped or screwed on to an existing basket, so there is no need to replace the full drawer if the back and base are still sound. This is often the more affordable repair when the front has cracked around the handle or fixing points.
Look closely at the damaged component before removing it. If possible, take a quick photograph of the fixing arrangement and note whether it uses clips, tabs, screws or slots. This makes fitting the replacement much easier, particularly if the old plastic has broken away from the original mounting points.
Find the appliance model number before you buy
The model number is the best way to match a freezer drawer replacement. Brand alone is rarely enough. Beko, Bosch, Hotpoint, Indesit and many other manufacturers produce appliances with several drawer sizes and designs, even within similar-looking ranges.
On an upright freezer, fridge freezer or integrated appliance, the rating plate is commonly found inside the refrigerator compartment, behind a salad drawer, on an inner side wall or around the door frame. On some appliances it may be on the rear or side of the cabinet. You are looking for the full model reference, not simply the brand name.
If the rating plate is difficult to read, write down every number and letter you can see. A single extra digit may distinguish one drawer type from another. Also check the position of the drawer - top, middle and bottom drawers may not be the same depth, even when they share the same width.
At Spares Direct Oldham, model-specific freezer parts are intended to help households replace the part that has failed rather than the whole appliance. Matching the model number, part description and drawer position gives you the strongest chance of ordering a suitable replacement first time.
Prepare the freezer before fitting the drawer
You do not usually need to disconnect power for a simple drawer replacement, but avoid leaving the freezer door open for long. Remove food from the affected drawer and place it in another freezer compartment, a cool bag or a suitable temporary container while you work.
If there is heavy ice around the drawer rails, deal with that before attempting installation. Forcing a new drawer through built-up ice can damage its edges, strain the runners and make a correctly matched part appear faulty. Switch the appliance off and allow the ice to melt naturally if needed, using towels to catch water. Do not chip at ice with a knife or sharp tool.
Wipe the rails and surrounding surfaces dry. Check for a loose food packet, a damaged rail cover or a small piece of broken plastic caught in the mechanism. These common obstructions can stop the drawer from sliding fully home.
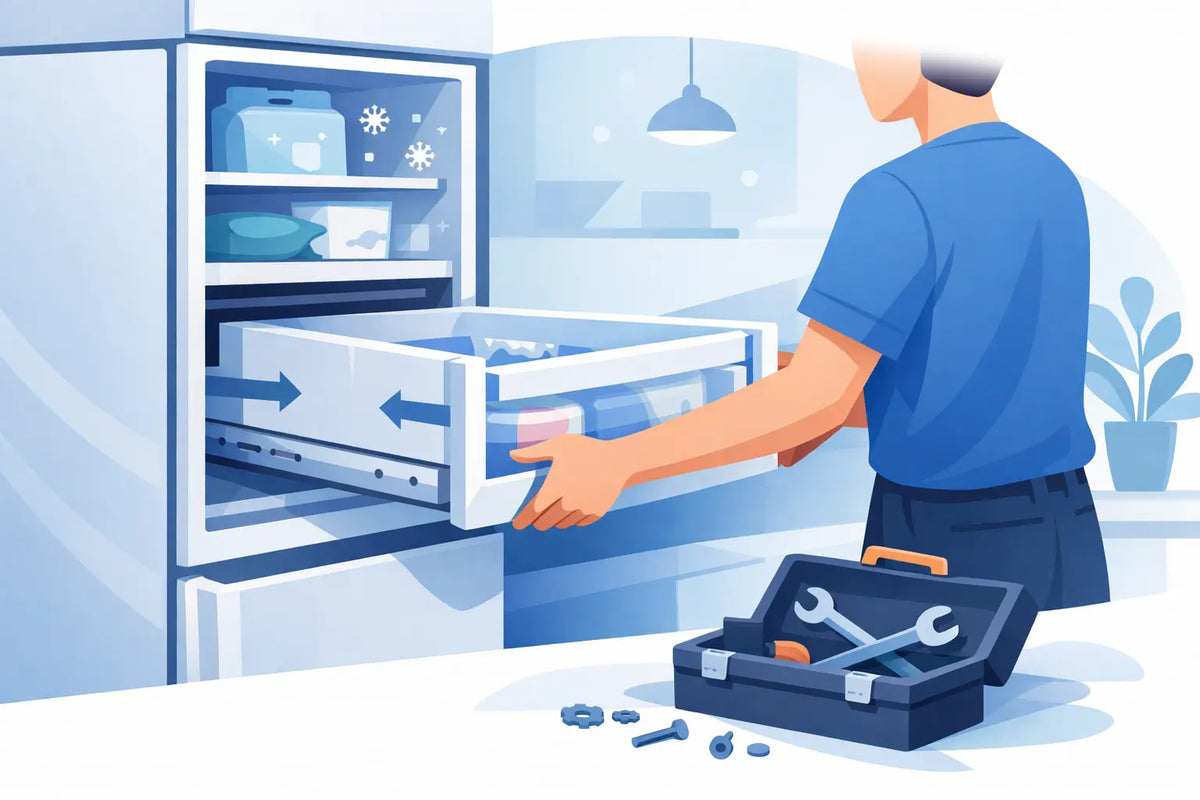
Freezer drawer installation for a complete drawer
Remove the old drawer carefully
Pull the existing drawer forwards as far as it will travel. Many drawers lift slightly at the front before coming free of the runners. Others need to be raised at the rear or tilted upwards while pulling forward. If it will not release easily, do not apply excessive force. Check for a stop tab or a rail that needs to be aligned first.
Once removed, compare the old and replacement drawers side by side. Check the width, depth, rail grooves, handle position and the shape of the rear corners. A minor difference in moulding can prevent correct fitting.
Align the drawer with the runners
Hold the new drawer level and line up its side grooves or lower edges with the freezer runners. Start it evenly on both sides. Pushing one side in much further than the other can cause the drawer to catch or twist.
Slide the drawer in slowly until it reaches the rear stop. Depending on the design, you may need to lower the front slightly or give the drawer a gentle lift for it to settle into the rails. It should move smoothly without scraping the freezer lining or dropping off its supports.
Pull it back out and push it in again two or three times. This quick check confirms that both sides are engaged. Refill the drawer only after you are happy that it opens, closes and supports its own weight correctly.
Check the door closes without resistance
A drawer that has not seated properly can sit too far forward and prevent the freezer door from sealing. Close the door gently and check that nothing catches. If the door needs pressure to shut, remove the drawer and inspect the rail alignment again.
This matters because a poor door seal can lead to frost build-up, temperature problems and higher energy use. The drawer should sit squarely in the compartment, not rest against the door or lean to one side.
Fitting a replacement freezer drawer front
A replacement drawer front is often a quicker job, but the plastic clips must be handled with care. Start by removing the basket from the freezer and placing it on a stable work surface. Examine the rear of the old front panel to see where the clips, hooks or screws are located.
For clip-on fronts, gently ease the retaining tabs away from the basket while supporting the panel. Plastic becomes more brittle in cold conditions, so allow the basket to warm slightly to room temperature before working on it. This reduces the chance of snapping a sound clip during removal.
Position the new front panel against the basket, ensuring each hook or locating tab is lined up before applying pressure. Press evenly along the fixing points rather than forcing one corner at a time. You may hear a light click as the clips engage. If screws are used, tighten them until secure but do not overtighten, as this can crack the new plastic.
Refit the basket to the freezer rails and test the handle with a gentle pull. The front should feel secure, with no gaps between the panel and the drawer body.
If the new drawer will not fit
Stop and check the basics before assuming the replacement is wrong. Is it being fitted in the correct drawer position? Are the runners fitted evenly and free from ice? Has a broken piece of the old drawer remained on a rail? Is the drawer front correctly attached, rather than sitting slightly proud of the basket?
Some freezer drawers are designed to sit loosely on open runners until weight is added, while others lock into a more defined track. It depends on the appliance design. What should not happen is persistent grinding, a drawer that falls forward, or a door that will not close.
If the part numbers, dimensions or fixing points differ from the original component, do not try to trim, drill or force the replacement to fit. Freezer plastic needs to withstand repeated movement at low temperatures, and altering it can weaken the part or interfere with the door seal. Recheck the appliance model number and the exact part description instead.
Keep the new drawer working properly
Avoid overloading one drawer with heavy frozen food, especially if it has a clear plastic front. Spread heavier items across the freezer where possible and do not use the drawer handle to pull against a jammed rail. If a drawer starts sticking, inspect it early for ice or packaging rather than continuing to force it.
Regularly wiping spills and removing loose ice from the runners will also help. A replacement drawer should last well when it is allowed to slide freely and is matched correctly to the appliance.
A broken freezer drawer does not have to mean replacing an otherwise reliable freezer. With the model number checked, the right part in hand and a careful fit on clean runners, this is one of those practical repairs that can restore everyday use in a matter of minutes.