
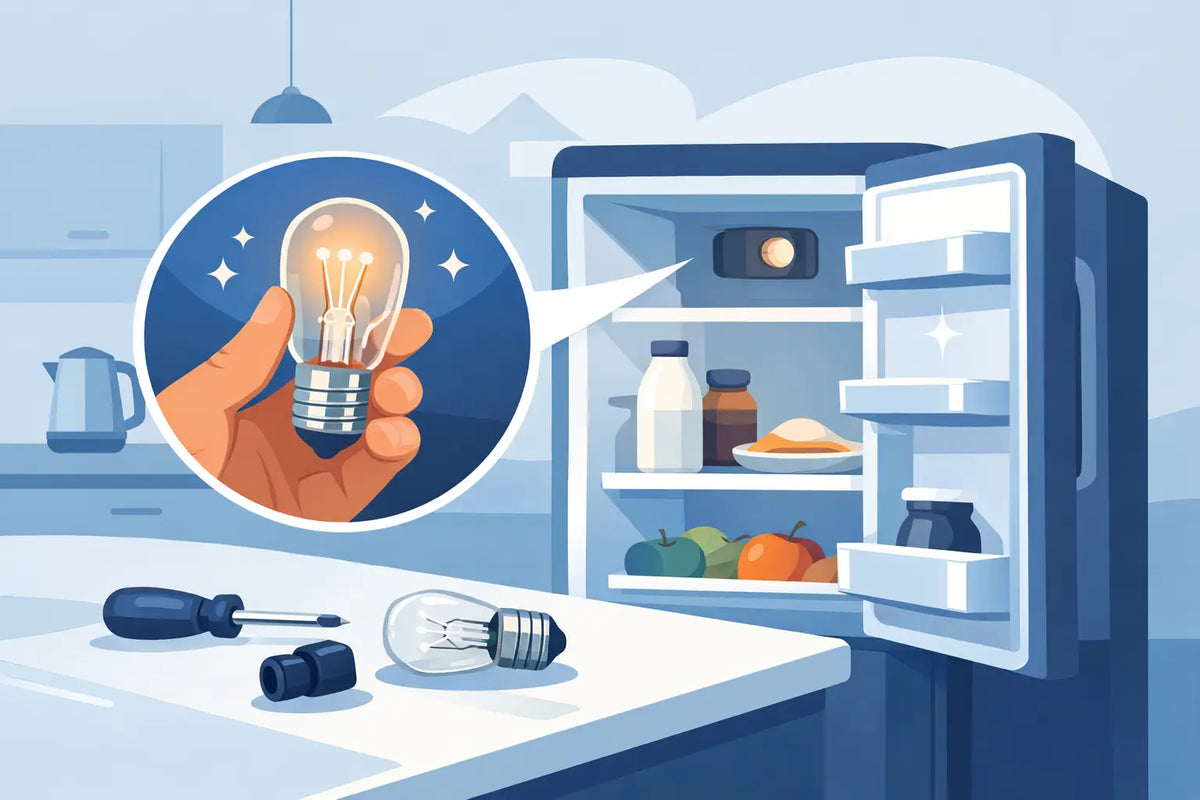
A dark fridge is more than an annoyance when you are looking for milk before work or checking what is still usable for tea. In many cases, a fridge bulb replacement is a quick, low-cost repair. The key is ordering a bulb that matches your appliance rather than choosing the first lamp that looks similar.
Most fridge lights are straightforward to replace, but fittings, wattage limits and bulb types vary between models. A correct replacement restores clear visibility inside the cabinet and helps you avoid damage to the light cover, socket or wiring.
Check whether the bulb is actually faulty
Before buying a replacement, make sure the bulb is the cause of the problem. Open the fridge door and check whether the light comes on. If it does not, switch off the appliance at the wall socket or unplug it before inspecting the bulb.
Once the fridge is isolated from the mains, remove the lamp cover if fitted and gently unscrew or release the bulb. Look for a broken filament, dark marks inside the glass or a loose base. These are common signs that the bulb has failed.
If the bulb looks intact, the fault could be elsewhere. Many fridges use a small door switch that is pressed when the door closes. If this switch sticks, is damaged or fails to release properly, the light may remain off even with a good bulb. A loose connection, faulty bulb holder or electronic lighting module can also be responsible, particularly on newer appliances with LED lighting.
A simple check is to press and release the door switch by hand while the appliance is safely powered on and the door is open. If the light flickers or comes on intermittently, the switch may need attention. Never attempt to dismantle live electrical parts.
Fridge bulb replacement: getting the correct match
The safest way to identify the correct bulb is to check your fridge model number first. This is usually found on the rating plate inside the fridge compartment, around the door frame, behind a salad drawer or on the rear of the appliance. The label normally shows the brand, model and serial information.
With the model number to hand, confirm the bulb specification shown in your instruction manual, on the old bulb or on the lamp holder. Pay attention to the fitting type, voltage, maximum wattage and whether the bulb must be rated for appliance use.
Common fridge bulbs may have a small Edison screw fitting, often called E14 or SES, although some models use a bayonet-style fitting, a capsule lamp or a dedicated LED unit. They can look alike at a glance, so the base matters just as much as the glass shape.
Do not assume that a standard household bulb will do the same job. Fridge bulbs are designed to operate in low temperatures and in a confined appliance light housing. A suitable appliance bulb is less likely to fail early or create excess heat around the plastic cover.
Why wattage matters
Always follow the maximum wattage marked on the lamp holder or listed for your model. A higher-wattage bulb may be brighter, but it can produce too much heat. This can discolour, warp or damage the light cover and surrounding fridge components.
Older fridges often use low-wattage incandescent appliance bulbs, while some newer models use LED bulbs or integrated LED boards. If your fridge specifies an LED module rather than a standard screw-in bulb, a conventional bulb replacement will not fit. The correct part may be a model-specific lamp assembly instead.
LED or traditional appliance bulb?
An LED replacement can use less energy and may last longer, but compatibility still comes first. The bulb must have the correct base, size, voltage and operating rating for refrigeration use. It must also fit under the original cover without touching it.
For an older appliance designed for a traditional bulb, a compatible appliance-rated LED can be a sensible option where specified. If there is any uncertainty, matching the original bulb type and rating is the most reliable route.
How to replace a fridge bulb safely
A fridge bulb replacement normally takes only a few minutes. First, turn the fridge off at the wall socket and unplug it. This protects you from an electric shock and prevents the compressor from starting while you are working near the light fitting.
Remove food or shelves only if they block access to the light. Most lamp covers either unclip, slide sideways or are secured with a small screw. Avoid forcing the plastic, especially if it is cold, as older covers can become brittle.
For a screw fitting, turn the old bulb anti-clockwise until it comes free. Hold the bulb by its base where possible rather than applying pressure to the glass. If it is broken, wear protective gloves, keep glass fragments away from food and use a dry cloth to remove any remaining pieces once the appliance is isolated.
Fit the new bulb by turning it clockwise until it is secure. It should be firm but not overtightened. Refit the cover, reconnect the fridge and open the door to test the light. If it works, allow the appliance to return to its normal temperature before loading anything you removed.
When the new bulb still does not work
A new bulb that does not illuminate usually points to a fault beyond the bulb itself. Start by checking that the replacement has the correct fitting and is fully seated. If it is, inspect the door switch for visible damage, sticking or a weak action.
A bulb holder can become corroded or loose over time, particularly in appliances with heavy condensation. If the contacts appear burnt, damaged or recessed, do not try to bend them while the fridge is connected to power. The holder may need to be replaced by someone competent to carry out electrical repairs.
For fridges with integrated LEDs, failure may be caused by the LED module, control board or wiring loom. These parts are often model-specific, so the appliance model number is essential before ordering anything. Replacing the wrong component wastes time and can leave you with a part that cannot be fitted.
Avoid common ordering mistakes
The most common mistake is ordering only by brand. A bulb used in one Beko, Bosch, Hotpoint or Samsung fridge may not suit another model from the same manufacturer. Appliance ranges change over time, and internal light fittings can differ even where the exterior design is similar.
It is also easy to overlook the shape of the bulb. A bulb may have the right screw base but be too long or wide for the lamp cover. Check the dimensions of the old part if possible, particularly where the light sits behind a narrow plastic diffuser.
Keep the old bulb until the new one is fitted and tested. Its markings can help confirm the fitting and rating, while the sample itself makes it easier to compare size and shape. If the writing has worn away, the fridge model number remains the best reference.
Extend the life of your fridge light
A fridge bulb should last for a long time, but frequent door opening naturally means frequent switching. Make sure the door closes properly and that food, shelves or damaged seals are not preventing it from shutting. A door left slightly open can keep the light running and shorten bulb life, while also making the appliance work harder to stay cold.
Clean the light cover occasionally with a soft cloth after switching off the appliance. Grease and food splashes reduce brightness, making a working bulb seem weaker than it is. Do not use harsh cleaners around plastic covers or electrical fittings.
For households trying to keep appliances working rather than replacing them prematurely, a correctly matched bulb is one of the simplest spares to fit. Spares Direct Oldham helps make that process easier by focusing on practical replacement parts and clear compatibility details. Start with the model number, match the specification carefully, and your fridge can be properly lit again without turning a small fault into an expensive replacement.